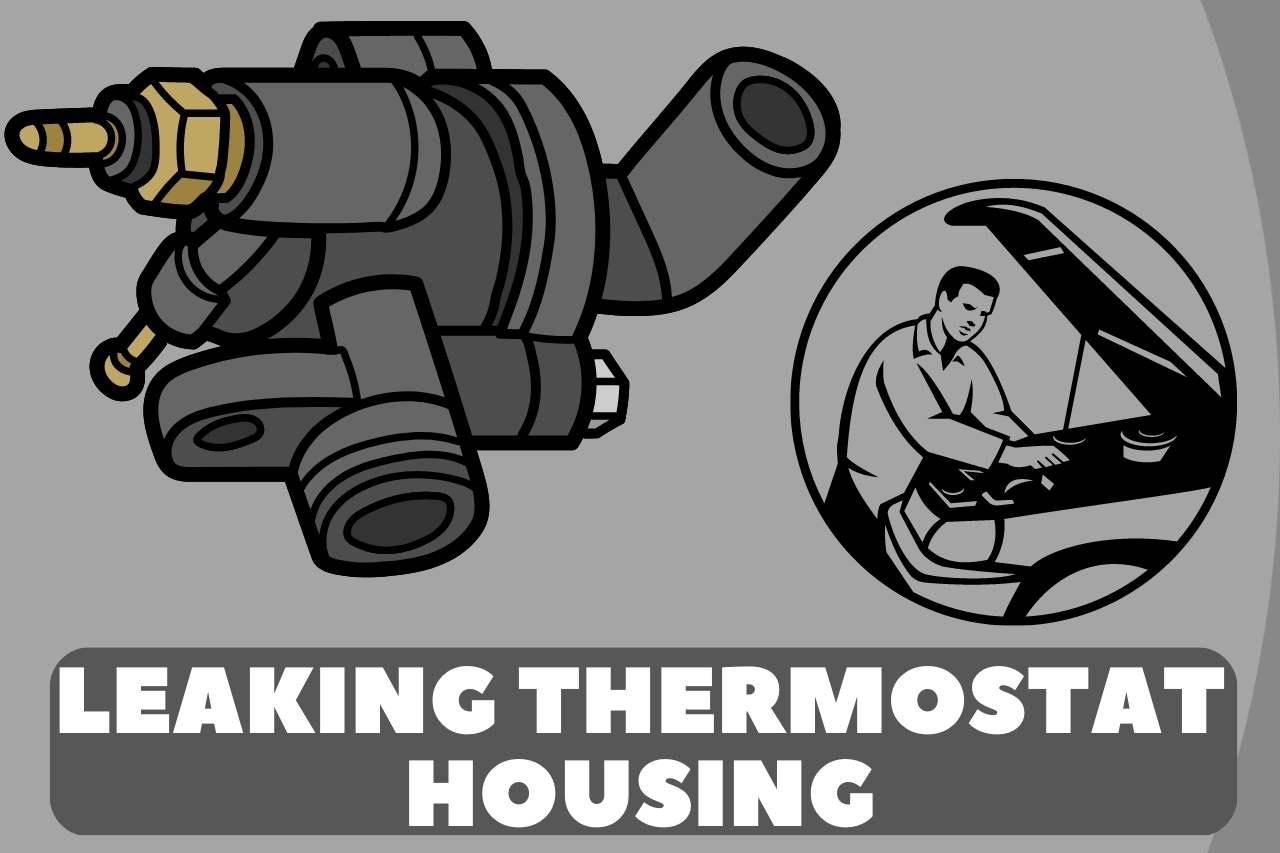
Leaking Thermostat Housing – (Function, Leak Causes & Cost)
The thermostat is a component that controls the circulation of the cooling system from the motor to the radiator. The thermostat housing holds the temperature controller, which can be a separate or incorporated structure based on the vehicle. This article is about the topic “Leaking thermostat housing.”
Your Mini’s thermostat and thermostat housing both serve as chiller systems. Whenever the heat of the engine falls below the operating temperature, the thermostat housing shuts down, enabling the cooling system in the thermostat to transmit heat across the engine. Leakage is usually triggered by cracked or broken housing, a faltering wrap, or being exposed to high temperatures.
What Causes a Thermostat Housing to Leak?
Now let us take a look at some of the reasons for thermostat housing failure.
-
Installation Error
The thermostat is really difficult to set up, causing even professionals to face challenges. The common problem is installing the bleeder valve in the downward rather than the upward position. This puts the portion of the thermostat that is intended to feel engine temperature in a situation that favors the radiator rather than the temperature controller. Once this occurs, the thermostat housing may close, allowing liquid to enter the cooling system and resulting in a significant delay.
The housing may also become disrupted if the technician implements or substitutes it by using too much torque on the studs. When the housing is affected, coolant liquid leaks and causes an issue.
-
Excessive Temperature
The thermostat housing is in charge of flowing coolant, and you’d assume it could tolerate intense heat. To some extent, this is correct. Even so, if a motor gets very hot, the housing will be exposed to the warmth it couldn’t withstand. The above high temperatures can harm the housing, resulting in a leak.
-
Battery Terminal Cable Failure
When power is supplied to the engine, the power supply terminal connectors may point in the wrong path. Several vehicles require reconfiguration of such cords after starting the engine to locate them correctly for electricity to circulate through them easily. If the above reprogramming does not occur, the thermostat housing coolant may fail.
-
Sealing Failure
Seals are also used in the housing to confirm a tight fit. The content, like any other gasket, starts wearing down with use. Initially, you may only realize minor leakage. The liquid will seep out further as the harm worsens.
Leaking Thermostat Housing Symptoms
When we’re handling the coolant, leaks might occur anywhere because coolant liquid should pass via various fittings and pipes. Also, it passes through the radiator, which could cause problems.
Inspect for coolant leakages underneath the car once examining Porsche for problems. Such leaks are visible at the front of the vehicle and are thus brightly colored as red, green, magenta, and pink.
When a vehicle overheats, it may be due to a faulty or broken thermostat. A thermostat housing that has been damaged is likely to allow a coolant leak to occur. This is caused by a failed engine gasket or a distorted housing.
Is Thermostat Housing Leak Serious?
A coolant outage could be the reason for the high-temperature readings on the Porsche. This is better to have monitored as soon as possible since motor overheating may be a major issue for Porsche.
Leaking coolant liquid is not good for the vehicle. Without enough coolant, the motor and each of its elements could rub against each other, resulting in high warmth from friction. It could simply explode the steel and the components of the engine.
Every vehicle owner should be conscious of the amount of coolant liquid in their vehicle. Going without a cooling system for an extended period will affect engine problems. So, if there is a coolant release in the thermostat housing, your motor will not receive the necessary oil and cooling agent.
Can you Drive with a Leaking Thermostat Housing?
If the vehicle’s coolant thermostat housing is starting to leak, you should substitute it as soon as possible. If a leak causes the motor to heat up, you must pull over urgently and take the car to a service center.
In certain situations, an electronic method inside your Porsche might force it to close down temporarily, decelerating the motor and preventing you from driving very speedily or even for greater distances. Your Porsche may shut down entirely to enable you to reach a car repair center once left stranded.
A minimal coolant alert will generally highlight on the dash to notify you that your Porsche is running low on the cooling system. It will generally occur just before the engine heats up. These are simply a few of the aspects your vehicle keeps you safe.
The thermostat’s housing must usually outlast the thermostat on its own, and preferably, it should serve as long as Porsche. Moreover, the housing can crush due to constant temperatures and cooling.
If your Porsche’s motor gets too hot at any moment, you must inspect the thermostat housing for harm. If you have the radiator tubing supplemented, your technician also must confirm it.
How do you Seal a Leaking Thermostat Housing?
A consultation with one of the skilled mechanics is the most effective way to ensure that a cooling system fault is restored within the thermostat housing. The thermostat housing sealant can be supplemented with simple tools and processes.
Step 1: Arrange the Area
You should prepare your work area before beginning any repairs. To safeguard the vehicle, park on a level surface and engage the parking brake. It would help if you also collected the necessary equipment and materials.
Step 2: Cool the Engine
It’s critical to let the engine idle before proceeding. The engine must be fully cooled.
Step 3: Remove the Coolant
Emptying the cooling system via the drain plug before beginning the procedure will make every step more comfortable. Gather the coolant in a bowl. However, many designs do not necessitate the above process and do not contain a drain plug. Hence it is critical to learn the support guidebook once continuing.
Step 4: Remove the Bolts
On the majority of housings, two pins handle it all in place. Use a socket wrench to extract such bolts.
Step 5: Remove the Thermostat Housing
Lift the housing upward and remove it.
Step 6: Surface Cleanliness
It would be best to clean the place where the housing will be appended before connecting it.
Step 7: Replace the Housing
Place the new housing in place and cautiously toughen the bolts.
Dive Deeper: Related Content You Shouldn’t Miss
- How to Remove a Spark Plug That is Stuck?
- Heat Only Works When Driving? Is It Dangerous?
- How to Flush Milky Oil From the Engine?
- Engine Bogs Down When Accelerating

My name is James, I work as an Automotive Designer with 9 years of experience. I also work as a mechanic and vehicle inspector. I love deciphering complicated car exteriors and interiors and resolving fluid and oil troubles. InstaMotoring.com is here to help you troubleshoot your car with dependable and expert help.
![How to Clean Fuel Pressure Regulator? [Complete Guide]](https://www.instamotoring.com/wp-content/uploads/2022/10/Are-Raycon-Earbuds-Waterproof-5-1-768x512.jpg)